Follow our journey

Follow our journey as we conquer our first dig and the various projects we take on to make a home sweet home.
Showing posts with label DIY. Show all posts

Wednesday, April 18, 2012

Lettuce, Spinach, and Bush Beans, Oh My!

It was so disappointing last year to see our lovely big yard go to waste. We just didn't have the time or the money to invest in it.

I really didn't want to miss out again on having a garden this year.So we had to at least get one raised bed ready for late April....And I'm happy to report that we made the deadline!

Earlier in the week, we went by Home Depot and purchased two of these cedar bed kits.
We had toyed around with the idea of purchasing and building the cedar beds (to fill a 15'x6' spot) from scratch (around $500-700 dollars for material and hardware)...and decided that these '$80 dollars a pop' cedar beds could do the trick for a few years. The only downside is that it reaches a full height of about 14 inches above the ground. I had been hoping to go a little higher to keep the animals out, but we will see how this works. I may build a net system to cover my little seedlings.
 
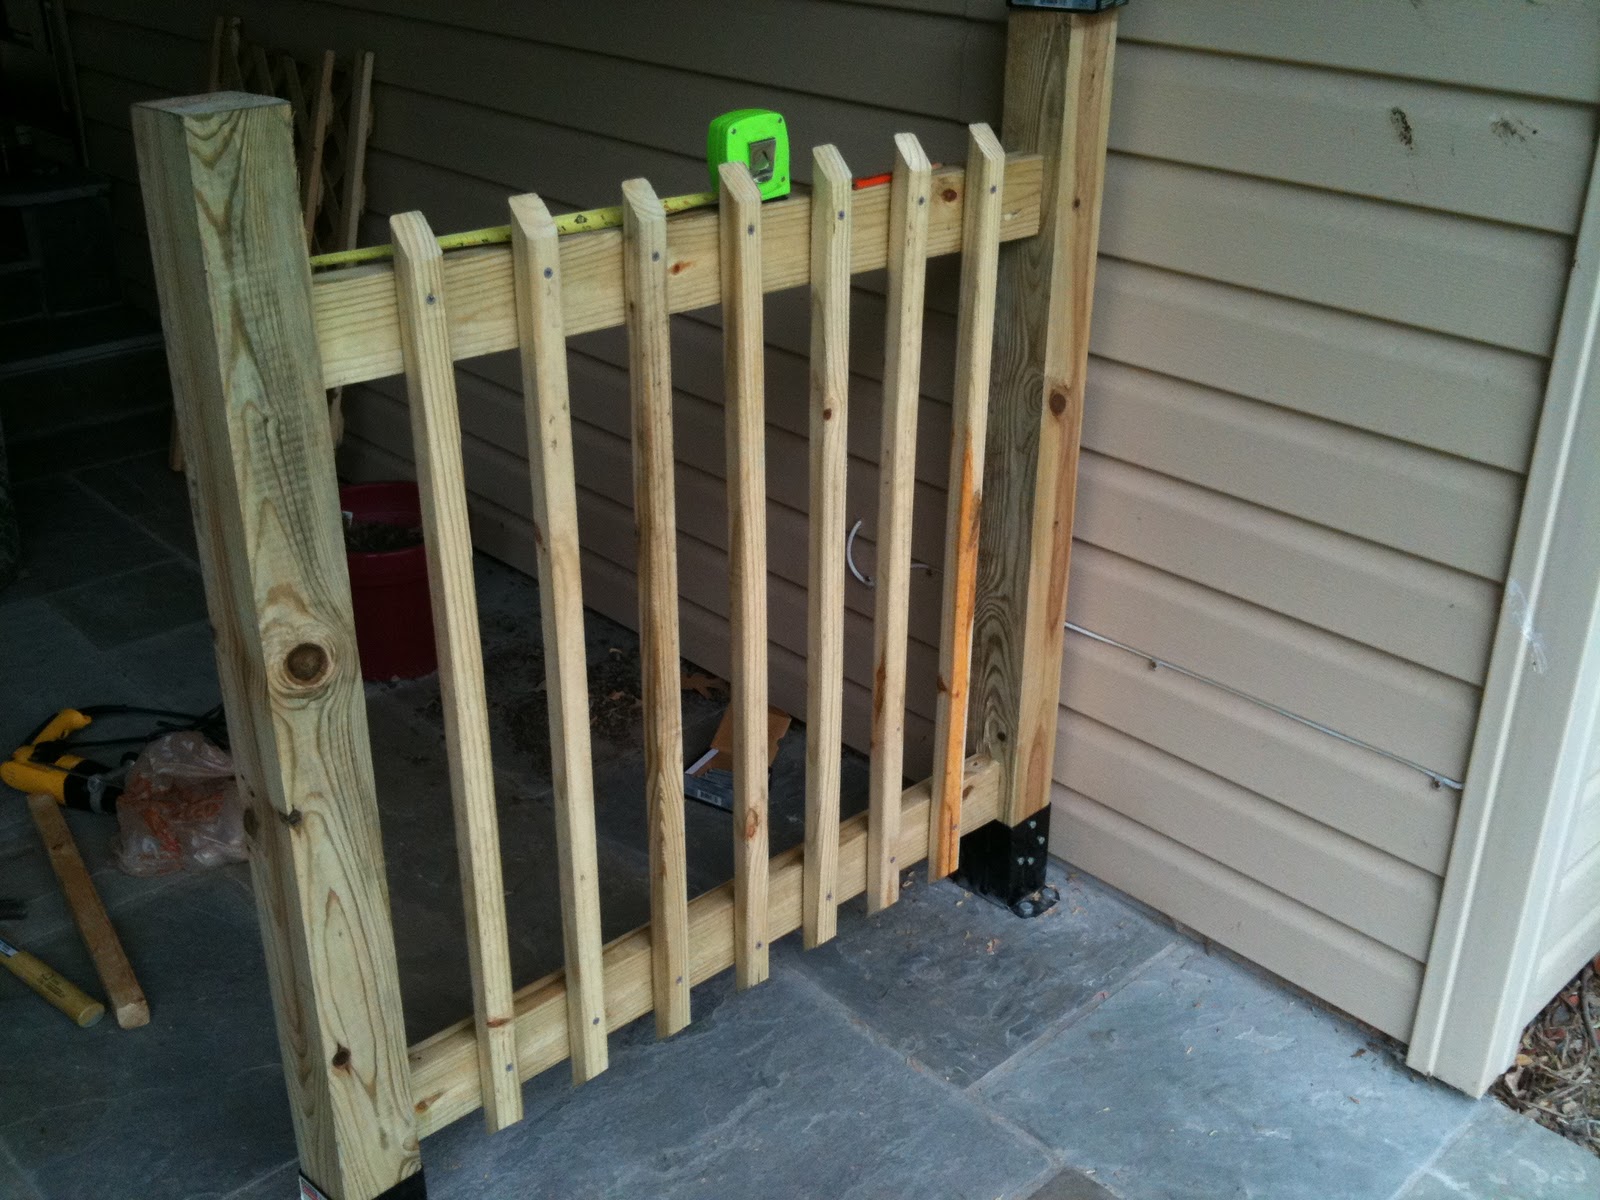
Josh happened to be out of town and I was bored, so I got up early Saturday and started the assembly process. The bed goes together really well. The leveling of the ground and digging of the trenches took me much longer. All in all, it took me about 5 hours (the frame took about 20 minutes). Oh, and as usual, the animals were O' So Helpful....


This is how large the bed will be when we add the second half. Got to get rid of that pesky stump first...


 Once Josh got back in to town, he helped me mix the soil and spread it out in the bed. I used a mixture of the existing clay/soil, sand, and garden soil for vegetables. I have already planted my spinach seeds as well as my salad mix seeds. My indoor seeds are also all set up. That includes lavender and bell peppers. In about a week or two, I will be planting the bush beans and the cucumbers, right after the last frost date (I'm guessing, since the weather has been so funky).

So, it's coming together and I can't wait to get the second bed in so I can have my herb garden. I will definitely be posting pictures of our fresh veggies this summer. Did I mention that we got 10 bags of mulch from the local boyscout troop? Woohoo! I will post pictures of what we do with that....even if it is just leaving them neatly stack in our driveway, Har Har.


Cheers,
 
Rachel


Tuesday, April 17, 2012

Finally Getting Around to Yard Work

That's right. Yard work. It's only taken us a year, but we finally got around to changing things. Mostly this first year, we've focused on getting furniture into the house, which is expensive when you move in with 2 chairs, a bed, 3 dressers, and a tv. 

We were noticing that our front yard near the driveway looked...well, pretty lame and sad. Without spending oodles of money, we came up with a relatively cheap idea to make our yard look a little more decent. For some unknown reason to us, the person we bought the house from had placed tiny bushes all along both sides of the driveway. Real cute, until you opened a car door and slammed them, or perhaps stepped on them and broke them into a million pieces (ahem, Josh). So we went ahead and pulled those bushes up. The mulch beds that they were in had begun to be taken over by the grass and clover from the main part of the yard. Not so pretty....
Home Depot Trip Findings
The "Not so Pretty" Front Yard

Attempting to make a straight line
Attempting to level

Izzy helping


Adding the weedblock

Adding borders and gravel


Ta Da!

So, it's still a little rough around the edges, but I think we are making progress!


Next up for the front yard:
- New mulch for the beds closest to the house
- Flower bed around the tree in the yard
- Attempting to remove clover from yard and replace with grass

We will see what happens.....


Cheers,

Rachel

Saturday, December 3, 2011

DIY Lip Balm for Holiday Gifts


 This year I went all out and decided that I was going to hand make all of our Christmas presents. I did quite a bit of research on how to make lip balms and decided on a list of ingredients I knew I wanted to use. Check out my post on research for more information.

I have to say that this seemed like it could be complicated, but it wasn't at all (probably because I did some research and didn't try to wing it like I usually do...). I really truly enjoyed making this stuff!

There are many sites that I referenced for direction but what it boils down to is....

  • 1 Part Oil
  • 1 Part Wax
  • 2 Parts Butter

So for my test batch I did:

  • 1 Teaspoon Jojoba Oil
  • 1 Teaspoon Beeswax
  • 2 Teaspoons Shea Butter (generous teaspoons)

I also added a few drops of Vitamin E Oil to help the balm last longer (1-2 years) and about 1/3 a Teaspoon of Clover Honey.
 
I added the jojoba oil, beeswax, and shea butter into a pyrex container and placed it in a large pot filled with 2 inches of water. 

I turned the stove top to Low (half way between low and medium to be exact). After about 5 to 6 minutes the butter started to melt...10 minutes later, it was completely melted into the mixture. 

The beeswax took the longest to melt and I ended up turning the stove top to Medium heat 15 minutes in. The mixture was completely melted at 19 minutes. This is when I mixed in the Honey and Vitamin E. 


I very quickly removed the pyrex and began to fill my little containers that I had setup up next to the stove. I placed a paper towel under the tubes just in case I got a little crazy while pouring it.

 Next time, I will add the Honey in with the mixture at the very beginning and add the Vitamin E Oil in right before the wax is completely melted. I say this because...1 The Oil didn't seem to mix in as well as I had hoped and 2 The honey mostly ended up in the last pot that I filled.

This recipe size made 4 tubes and 1 tin.


Taste and Texture

The balm came out great! It was silky smooth and soft with a nice bit of honey after taste...not enough to make you want to eat the balm. 

My husband enjoyed the balm also but commented that he thought it might be a little too "shiny" for guys to use. So next time I will add a tad bit more wax and butter to make it less "shiny" for the guys.

Soon I will be adding flavors and mixing the ingredients with different butters and oils to come up with something unique. 

I totally recommend doing this. Making your own lip balm is a great way to keep all of those nasty chemicals out of your body.   It saves money, makes for great gifts, and is a lot of fun. If you don't feel like making it yourself, you can buy homemade lip balms on Etsy or at your local farmer's market...but I do hope you try it!


Here is a list of a few sites that I found helpful:

Bramble Berry :Where I got my wax, butter, tubes and tins, and vitamin e (not to mention their great tips and tricks)
Amazon : Where I got my jojoba oil

Rustic Escentuals: Where I got my flavor oils (also great tips and tricks)


Cheers!


Rachel


UPDATE: I've been messing around with the texture of the balm and I have found that to make up for adding the vitamin E oil and honey, you need to add more wax and butter. the first batch became grainy after a few days, but melts as soon as it meets your lips.

I've been doing 1 part wax, 1 part oil, 3 parts butter.

Sunday, November 27, 2011

Christmas Gift Idea : Homemade Lip Balm Research

It's that time of the year again and I'm very excited. In fact, I already have the christmas tree up and the stockings! After pondering for many days, I determined that due to my obsession with Etsy and Pinterest, that I would be making handmade gifts this year. 

Something that I have yet to write about is my etsy store that I started up in July. So far I have just done a few projects making zipper pouches and making wire wrapped jewelry...not many sales, but I am having a lot of fun doing it, and I think that that is all that matters. So of course for presents, I will be making pouches with personalized (probably monogrammed) jewelry inside...and homemade lip balm and soy candles. I've been researching some different techniques for making the homemade lip balm and decided on the following ingredients.


Rachel's Homemade Lip Balm:

Beeswax
Jojoba Oil
Shea Butter
Vanilla, Lavender Vanilla, Butter Toffee, Chai Tea (for flavor-must be edible(non-alcohol based, non-water based)
Vitamin E (to prolong the age of the balm)
Empty Balm Containers

There are many different options for lip balm ingredients, and the main thing to remember is that you always need a wax, an oil, and a butter. I did find it a bit confusing, but some sites refer to oils as "flavor oils" but they are not actually flavored, they are just scented. So if you are planning on making some lip balm, I would just keep this in mind. Also, the extracts that I have collected for this project are food grade. You can't use most essential oils unless they specifically say that they are edible. I would be very careful when shopping around for scents and flavors, especially if you are planning on selling the end product. Oh and if you do want to sell it, there are a few things you need to do legally to protect yourself and the consumers.

I also did some research on methods of preserving. If you want to prolong the life of the balm for 1 to 2 years, you need to find a nice anti-oxidant. Jojoba oil is naturally good at repelling oxidation. Grapefruit oil and Grape seed oil also have similar properties but may not be FDA approved. I would definitely do your research and shop around for the right ingredients.

So, I actually found that Amazon had a large amount of the items that I needed and they had them for a fair price, but I also found that Bramble Berry had everything I needed and they had helpful tips and tricks also. They were very affordable. 

So this week I will be experimenting with the right amount of each ingredient. I've read several posts from various sites stating that melting beeswax and shea butter can be difficult and the results can be "grainy". I plan on posting my discoveries (and hopefully good results) this week!

Cheers,


Rachel

Thursday, October 27, 2011

Once upon a time, we built a fence.

And it was glorious! I know I know, I can hear you already... "GEE wiz! It sure took you long enough!"...assuming that you say Gee Wiz, I'm certain that that is an exact representation of your response.
But let me just tell you this, building fences is expensive... plus,  you have a husband who could be a closet perfectionist....it equals Time. 

Here is what it took:

(1) Very impressive hammer drill
(16) feet of 4x4's...cut into 4 foot pieces
(63ish) feet of 2 x 2's ...or (11) 6 foot long...2x2's cut into 3 foot pieces..roughly 
(24) feet of 2x4's...of various sizes...
(16) anchors and lags for drilling in concrete
(1 million) screws...okay so not really...
(4) Steel fence post holder thingys (that's the technical term)
(1) Set of hinges and gate latch
I think that once we bought all of this stuff, we imagined that it would magically come together overnight...sort of like mickey mouse and his magical brooms in fantasia...

It Didn't. 

8 hours later, Josh had made 16 holes in our breezeway concrete and we attached the brackets and the first two fence posts. Horray.

Notice the morning coffee holders...

Convinced that we were mostly the way there (about 5% done) we went onward and made the horizontal beams and pickets.

Ta Da!
Because I was suffering from what I like to call...an allergic reaction to manual labor...(aka, the common cold) and Josh was suffering from Jell-O hands...we took a break for about a week.

And then there were 2!
Finally, all we had left was the gate. Please hold your applause until the end.


Ooooo Ahhhhhh
Needless to say, we are pleased as punch. Murphy loves it, we love it, Ray loves it, neighbors maybe sort of kinda like it....It's a win win. Now, if only we could get around to mowing our lawn....Details...

 Until our next bright idea....

Cheers,
Rachel


Wednesday, July 27, 2011

Bits of wood and metal

What better way to say "I love you" than making her something from bits of wood, metal, and some jars lying around the garage? Rachel showed me something similar online which had three small jars attached to a painted plank via hose clamps. The jars had flowers in them. I figured my hourly rate would be enough of a present, so I would try to use things I had lying around in the garage. I know, How Romantic!

I started by cutting up an old coffee table.


I used my plane to Chamfer the edges.

Remind me to sharpen my plane first next time.

I didn't have any hose clamps, so I used the wire from some Miss Utilities flags I had saved (I knew they would be good for something..) I think the thin, dark (i.e., slightly rusty) wire looks better than the 1/4" thick, raw metal of a pipe clamp.

I bent them about 3/4 of the way around the jars since I figured the would spring back, and then straitened the ends out so they would poke through the small holes I drilled in the plank. They didn't have to be perfectly shaped since they are springy enough to take the shape of the jars while they are under tension. Since the wood looked pretty darn good natural, I decided not to paint it.

I used candle jars we used at our wedding rehearsal dinner. They slide right in. The jars already had the colored ribbons, so I alternated. We can always take the candles out and put plants in .... maybe a mini, kitchen-wall-mounted herb garden.

Another finished product picture (blurry cell phone picture).
I think this took about three hours total, with a Design+Build style of starting work before you know how you will finish it.

Sunday, July 24, 2011

What do you mean it's already July?!

Time sure flies, when you're having fun! Josh and I have been busy with our random small projects. Nothing too crazy yet! Josh got around to fixing the shower in our bedroom, just in time for the Ford family to come visit and stay with us! Good timing! We also installed a cat door and have 2 very happy cats that can go in and out and in and out..and in...and out...in out in out in out...whew...It's exhausting just thinking about how many times I had to open the door for those silly cats. Make up your minds! 


Yay! Happy Cats!
Okay, this might be a good time for a snack break. I have a few more projects to write about.....

Welcome Back.

So, awhile ago...I took on the project of re-finishing an old secretary that my dad gave me. It had seen better days.


 I found some nifty hardware at a little store I used to work out. Okay, so Anthropologie isn't really a little store. But they do have nifty hardware. I started with sanding down the drawers and removing the existing hardware. Since the existing hardware had left 2 holes, I went to that depot place and got some wood filler. Once the filler was dry, I sanded over it to smooth it out. ...Then the project sat for.....5 months. Oy! What can I say...I take my time.

I'm helping!


And then...once we got a garage with plenty of room for painting and sanding projects....
I took on the Secretary again.


I'm helping again!


So, I still have to finish the chair and the small drawers that are inside the top part. I found some fabric at Ikea that I'm going to reupholster the chair with once its done being painted.


Need a bathroom break?

This might be slightly out of order, but I also finished some birds that I made for my niece Zoe. I got the pattern from a book I found on amazon, One Yard Wonders. I picked some fun purple fabrics to mix and match. Also, I got to use my grandmother's beautiful Singer Sewing Machine. 


Oh. Did I mention I got an ice cream maker attachment for my kitchenaid? Dangerous....

So far, Josh and I have made Lavender Honey, Chocolate Peanut Butter, Chocolate Raspberry, Peach Frozen Yogurt, and Vanilla Fudge Swirl. Where did I get those amazing recipes you ask? Well....Right here

Speaking of food, I also grew  1 crookneck squash and 3 bush beans. Yes, I know, I'm quite the farmer.


I can tell you are impressed.

They were delicious, just in case you were wondering.

Man, I feel like I'm advertising for Amazon right now, but I've gotten some neat things on there...so, I went ahead and made Josh a music corner. I got hooks to mount his instruments on the wall in the family room. Now he has a space to play!
That's one excited husband.
Also, I went ahead and got a screen for our sliding door. It seemed that we were turning our house into a Insect House at a zoo. The animals have figured out how to get in and out by sliding under the net. This one has little magnets that keep it together. Very Nifty.

Annndddddd drum roll please.....................

We finally bought our sofa! And Izzy loves it. He has decided that the largest cushion is most definitely for him. You can find it here

Okay! I think I almost covered everything....Until next time!


Cheers,

Rachel